
Don’t paint straight onto new plaster. Let it dry fully first, then seal it with a diluted “mist coat,” mixed to a thin consistency, before applying two full topcoats. This sequence prevents the flaking and patchy finish that comes from rushing fresh walls. Author Fabian brings over 30 years in the painting trade to this guide, and the same principle guides every job 5starpainting takes on.
TL;DR:
- Waiting at least 24 hours with a plastic sheet test ensures the plaster is dry enough to prevent adhesion issues and patchy finishes.
- Applying a diluted mist coat, rather than a thick primer, stabilizes high pH levels and promotes proper paint bonding on new plaster.
- Using consistent dilution and thorough surface preparation, including cleaning dust and filling defects, is key to achieving a smooth topcoat finish.
- Two full undiluted coats are standard for topcoats, but colors like reds or dark blues may need an additional layer for even coverage.
- Hiring professionals is recommended for large areas or uneven suction walls to avoid failures caused by improper sequencing or timing.
Table of Contents
- Why New Plaster Behaves Differently Than Old Walls
- How Long Should You Wait Before Painting New Plaster?
- Prepping the Surface Before You Mist Coat
- How to Mix and Apply a Mist Coat Correctly
- Applying the Topcoat: Timing, Coverage, and Finish
- Common Mistakes and How to Fix Them
- What Painting Pros Do Differently
- What Actually Matters When Painting New Plaster
- Get a Managed, Warrantied Finish on Your New Plaster
- Sources
Why New Plaster Behaves Differently Than Old Walls
Fresh plaster is porous in a way painted walls never are again. It pulls moisture out of wet paint almost immediately, which sounds harmless but actually stops the paint from curing evenly across the surface. You end up with blotchy sheen, weak adhesion, and paint that lifts within weeks.
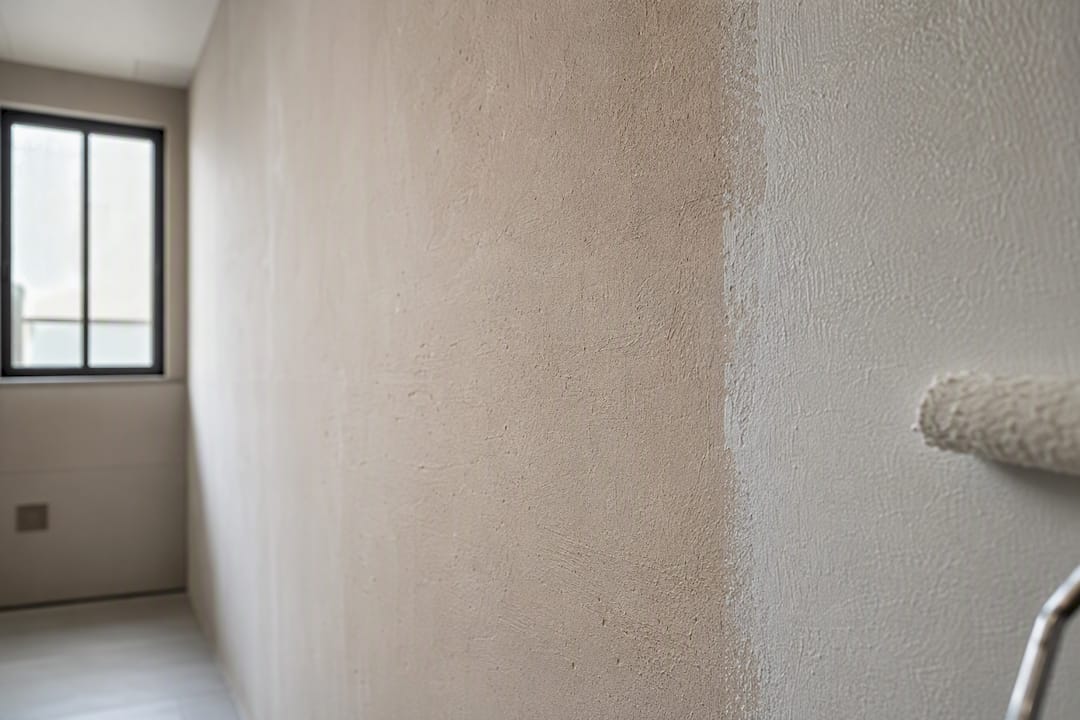
There’s a second problem: alkalinity. New plaster carries a high pH while it cures, and certain binders react poorly to that chemistry, resulting in discoloration or bonding failure. A mist coat penetrates and stabilizes that suction instead of sitting on top of it.
This is where confusion trips up most first-timers:
- A mist coat is thin, low-build, and soaks into the pores to even out absorption.
- A standard primer is thick and high-build, designed to sit on top of a surface.
- Applying primer to fresh plaster forms a skin that has nowhere to breathe, and that skin is what eventually delaminates.
How Long Should You Wait Before Painting New Plaster?
Drying time depends on the plaster type, wall thickness, and how well the room ventilates. Skim plaster over plasterboard often dries within a few weeks under normal conditions, but drying time varies with conditions and can take longer. Lime plaster or anything applied over damp masonry can take considerably longer.
Rather than guessing, run a quick check before you touch a brush:
- Tape a 30 by 30 centimeter piece of clear plastic sheeting to the wall and seal all four edges.
- Leave it in place for 24 hours.
- Peel it back and check for condensation underneath. Moisture means the wall is still drying and needs more time.
- If you own a moisture meter, use it as a secondary check rather than your only test.
- Keep the room ventilated and gently warm, since a steady, moderate temperature speeds curing without triggering surface cracks.
Prepping the Surface Before You Mist Coat
A mist coat only performs well on a clean, sound surface. Walk the wall under strong light and look for uneven ridges, pinholes, or small blowholes left by the trowel.
Once you’ve flagged the problem spots, work through this sequence:
- Scrape away any loose debris and spot-fill small defects with a suitable filler.
- Lightly sand high points and filled areas with 180 grit sandpaper, just enough to key the surface without scratching it.
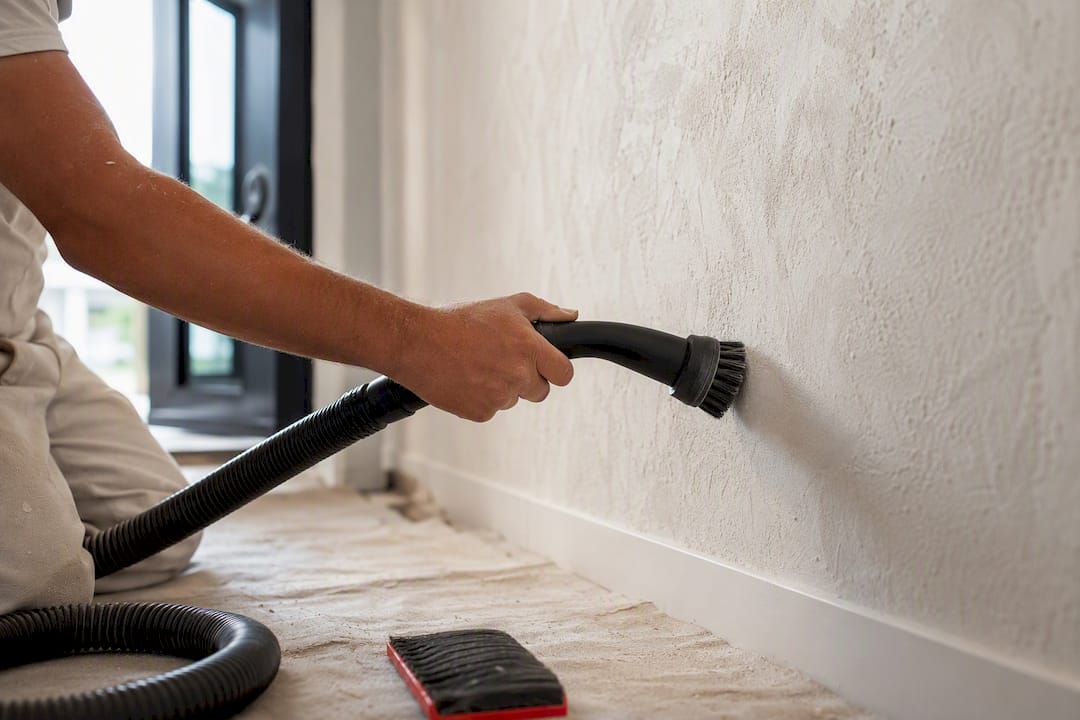
- Vacuum the wall with a brush attachment to pull dust out of the pores. Skip the wet cloth entirely, since reintroducing moisture defeats the drying you just waited for.
- Lay dust sheets, mask switch plates and joinery, and move furniture clear of splash zones, following expert advice on painting versus replacing old doors for a complete home finish.
Extensive cracking, large blown areas, or plaster that still feels damp after a week of drying are signs to bring in a professional rather than push forward on a DIY schedule.
Pro Tip: Vacuum in one direction along the wall rather than scrubbing back and forth. It lifts dust out of the texture instead of grinding it back in.
How to Mix and Apply a Mist Coat Correctly
The mist coat is typically made by diluting paint with water; a ratio that results in a consistency like thin, skimmed milk, adjusted depending on how absorbent the plaster is. Use a non-vinyl contract or trade matt emulsion labeled suitable for new plaster. Skip vinyl matt and anything oil-based, since both trap moisture the wall still needs to release.
- Batch-mix your full quantity in one bucket before starting, so every wall in the room gets the identical dilution and shade.
- Cut in edges, corners, and trim lines first with a brush.
- Roll the open field with a 7 to 12 inch roller in one steady, even pass per section.
- Avoid going back over an area once it starts tacking up. Overworking a mist coat drags patches and leaves visible lap marks.
- Let it dry about a day or two before judging the result, longer in cold or humid rooms.
One detail catches people off guard: a mist coat often feels dry to the touch within an hour, but that’s surface evaporation, not full cure. If one section still looks dull and chalky after the wait, that’s high suction talking, and a second localized mist coat on just that patch solves it without recoating the whole wall.
Applying the Topcoat: Timing, Coverage, and Finish
Once the mist coat has dried fully, move on to the finish coats. Standard practice calls for two full, undiluted coats. Deep or saturated colors, such as reds and dark blues, may need an additional coat for even coverage.
Finish choice matters more on new plaster than people expect:
- Matt finishes hide the small surface irregularities that fresh plaster almost always has.
- Eggshell or satin holds up better in kitchens, hallways, and bathrooms where walls get touched or wiped often.
- Both finishes bond fine over a properly cured mist coat; the choice comes down to the room, not the prep method.
Work the same sequence as the mist coat: cut in first, then roll in vertical passes, and keep a wet edge across each wall so you don’t get overlap lines where one drying section meets a fresh one.
Common Mistakes and How to Fix Them
Most new-plaster paint failures trace back to one of a handful of causes, and each has a specific fix.
- Patchy, blotchy sheen after topcoat: usually an incomplete mist coat or plaster that wasn’t fully dry. Let it dry longer, then re-check with the plastic sheet test before recoating.
- Peeling or flaking within weeks: almost always primer applied straight onto fresh plaster instead of a mist coat. The primer’s non-breathable skin traps moisture until it lifts.
- Uneven color across one wall: inconsistent mist coat dilution from mixing multiple small batches instead of one large batch.
- Recovery from failed paint: strip the affected coating, confirm moisture levels have dropped, then re-mist and recoat the area rather than patching over the damage.
Large-scale delamination across several walls is the point to call in a professional crew instead of stripping and redoing it yourself room by room.
What Painting Pros Do Differently
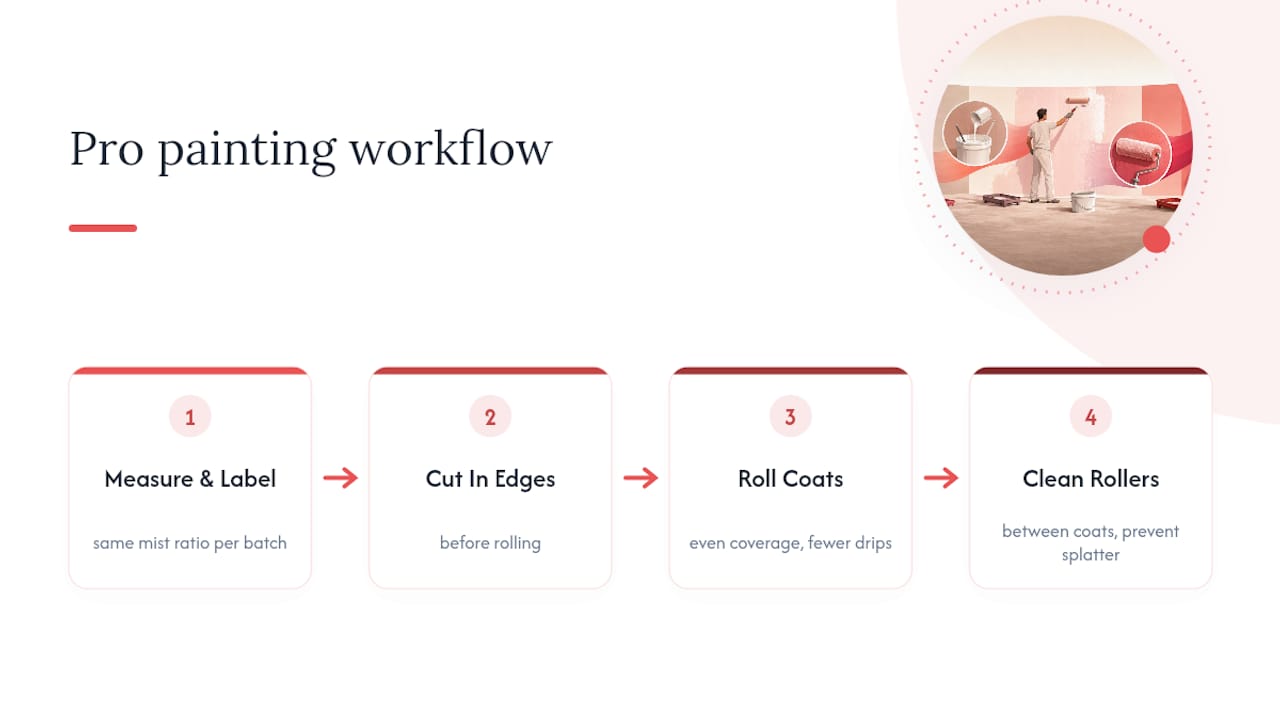
Professional crews lean on habits that DIYers often skip under time pressure. Mixing every mist coat batch to the same measured ratio and labeling buckets keeps color and dilution consistent across a whole property, not just one wall. Cutting in edges before rolling, and cleaning rollers between coats, cuts down on the drips and splatter that show up later under raking light.
On complex jobs, high-suction plaster or heavily patched surfaces, some professionals reach for a breathable plaster sealer instead of a standard DIY mist coat, since it handles uneven absorption more predictably across a large area.
A professional painting service brings that same discipline to every job: quality paint, all-inclusive pricing, a dedicated project manager, full cleanup, and a one-year warranty. Before requesting a quote, have your room dimensions and a rough plastering date ready. It speeds up an accurate estimate considerably.
What Actually Matters When Painting New Plaster
The mist coat gets treated as an optional step in a lot of casual advice, and that’s backwards. It’s the single point in the whole process where most failures start or get prevented. Skipping it, or swapping in a thick primer because it’s what’s sitting in the garage, is the most common reason people repaint a room twice.
Where conventional advice falls short is timing. Guides throw out a flat “two weeks” rule without acknowledging that a skim coat over plasterboard and a lime-plastered wall behave nothing alike. The plastic-sheet test costs almost nothing and removes the guesswork entirely, so there’s no reason to rely on a calendar guess when a 24-hour check gives you a real answer.
If you’re doing this yourself, get the ratio and the drying check right before you worry about finish or color. Everything downstream depends on those two decisions. For a larger property, an uneven suction pattern across multiple rooms, or a firm move-in date you can’t push back, a managed job with a warranty behind it removes the risk of getting the sequence wrong.
— Fabian
Get a Managed, Warrantied Finish on Your New Plaster
Handling a mist coat and topcoat schedule yourself works fine for a single room on a flexible timeline. It gets harder across a full HDB flat or condo, where suction varies wall to wall and one missed drying window means redoing a whole surface. Hiring a professional service is the alternative to trial-and-error DIY sequencing: a fixed, all-inclusive price that covers surface prep, mist coat and topcoats, furniture protection, full cleanup, and a one-year warranty, all managed by a dedicated project manager.

Hiring out makes the most sense when you’re working to a tight move-in date, painting a large area, or dealing with plaster that has shown uneven suction across different walls. Before requesting a quote, have your room sizes, your plastering completion date, and any access restrictions on hand. Check pricing and package details on the HDB painting services page, or the condo painting services page if you’re in a multi-unit residence, and get a quote built around your actual walls rather than a generic estimate.
Sources
- How to paint newly plastered walls: Mist Coat and Beyond | KentPlasterers
- How to paint new plaster | Crown Paints
- Engineerskill
- How To Paint Newly Plastered Walls: Mist Coat and Beyond | Valspar