
Yes, you can fix peeling paint reliably, but only if you remove loose paint and address the root cause before repainting. Skip that order and the same section will bubble up again within months. The repair sequence is simple: stop the moisture source, remove loose paint, sand the edges smooth, patch damaged spots, prime bare areas, then repaint.
Before you touch a scraper, run two quick checks:
- Press the peeling area. If it feels damp or soft, you have an active moisture problem and need to fix that first, not paint over it.
- Look at the size and location. Peeling limited to one small patch is usually a DIY job; peeling across an entire ceiling or wall, especially near plumbing or a roofline, often points to a hidden leak worth investigating before you buy any supplies.
Key Takeaways
A durable peeling paint repair depends on removing every loose flake, feathering the edges smooth, priming bare spots correctly, and fixing the moisture source before recoating.
| Point | Details |
|---|---|
| Diagnose before repairing | Match the peeling pattern (rings, blisters, seams) to its likely moisture or surface cause. |
| Never paint over loose paint | Scrape back to a firm, solid edge or the repair will fail again within months. |
| Feather with two grits | Sand 120 then 220 grit and check the edge by hand for a seamless transition. |
| Respect drying windows | Let primer and each topcoat cure fully; rushing coats causes blisters and stains. |
| Call a pro for recurring or large-area peeling | 5starpainting offers all-inclusive repair pricing, genuine Nippon Paint, and a one-year warranty. |
Table of Contents
- What Causes Ceiling Paint Peeling and Wall Flaking?
- Tools and Materials for a Flaking Paint Repair
- How Do You Repair Peeling Paint Step by Step?
- How Do You Stop Paint From Peeling Again?
- When Should You Call a Painting Professional?
- What Most DIYers Get Wrong About Feathering
- Get a Guaranteed Peeling Paint Repair Without the Trial and Error
- Sources
What Causes Ceiling Paint Peeling and Wall Flaking?
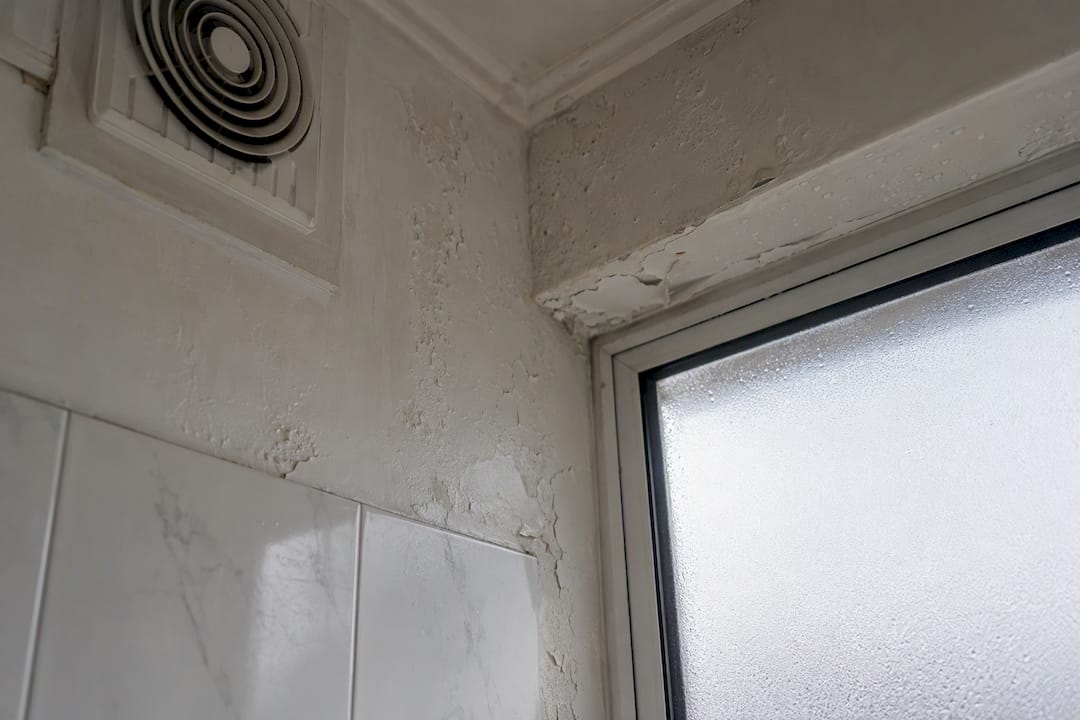
Moisture is the most common driver of peeling paint, and the pattern usually tells you where it’s coming from. Peeling in rings or blisters near a window suggests condensation. Bubbling around a bathroom or kitchen ceiling points to poor ventilation. Peeling that tracks along a ceiling seam or in a straight line often traces back to a roof leak or a pipe sweating above the surface.
Surface condition is the second big factor. Paint applied over a chalky, greasy, or glossy substrate without proper cleaning or sanding never bonds well, so it lifts in sheets rather than tiny flakes. Incompatible coatings cause the same failure. Oil-based paint under a fresh acrylic coat, for instance, often peels because the two don’t grip each other.
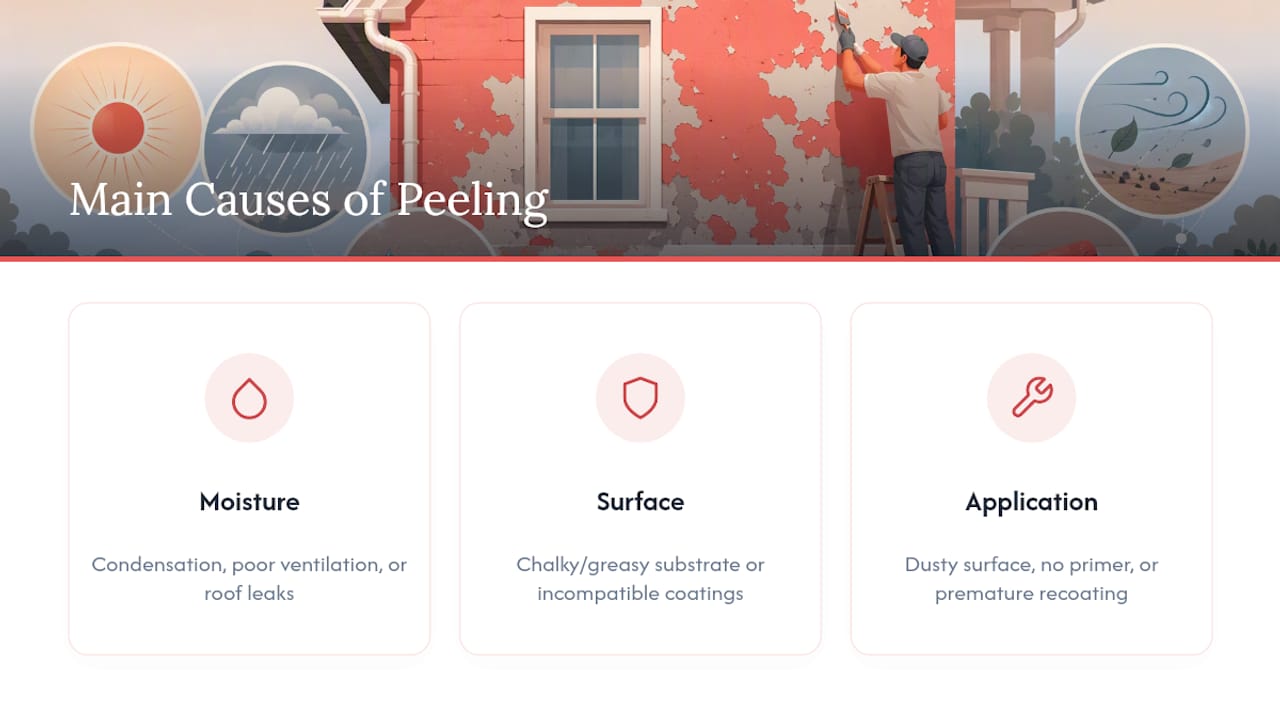
Application mistakes round out the list: painting over dust, skipping primer on bare drywall or repaired plaster, or recoating before the previous layer finished drying. Moisture trapped under a top coat because the first coat never cured properly will blister within weeks.
Pro Tip: Tape a small square of plastic wrap to the suspect area and check it after 24 hours. Condensation on the inside of the plastic means active moisture. Postpone any repair until that source is fixed and the surface reads dry.
Tools and Materials for a Flaking Paint Repair
Gather everything before you start so a mid-project trip to the store doesn’t leave a patch half-finished.
- Stiff putty knife or paint scraper for removing loose paint.
- Sanding sponge or sandpaper in 120 and 220 grit for feathering edges.
- Lightweight spackle or joint compound for filling holes and gouges.
- Bonding or stain-blocking primer suited to the substrate, such as Nippon Paint undercoats sold locally.
- Quality interior acrylic topcoat matched to the existing sheen.
- Roller, angled brush, drop cloths, and painter’s tape.
- Safety gear: N95 mask, safety glasses, and gloves.
If your home was built before the 1990s and the old paint layers are unknown, treat any peeling paint as a potential lead hazard. Avoid dry sanding, wear a proper respirator, and wet-scrape instead to keep dust down.
Pro Tip: Buy a small sample pot of primer and topcoat before committing to a full can. Testing coverage and dry time on one patch saves you from repainting an entire wall if the sheen doesn’t match.
How Do You Repair Peeling Paint Step by Step?
Confirm the surface is dry before you do anything else. If you ran the plastic-wrap test and saw no condensation, and the area feels firm rather than spongy, you’re clear to start.
- Scrape all loose paint back to a solid edge. Hold the scraper at a low angle and work from the center of the peeling outward. Painting over any flake that isn’t firmly attached causes repeat failure within a single season.
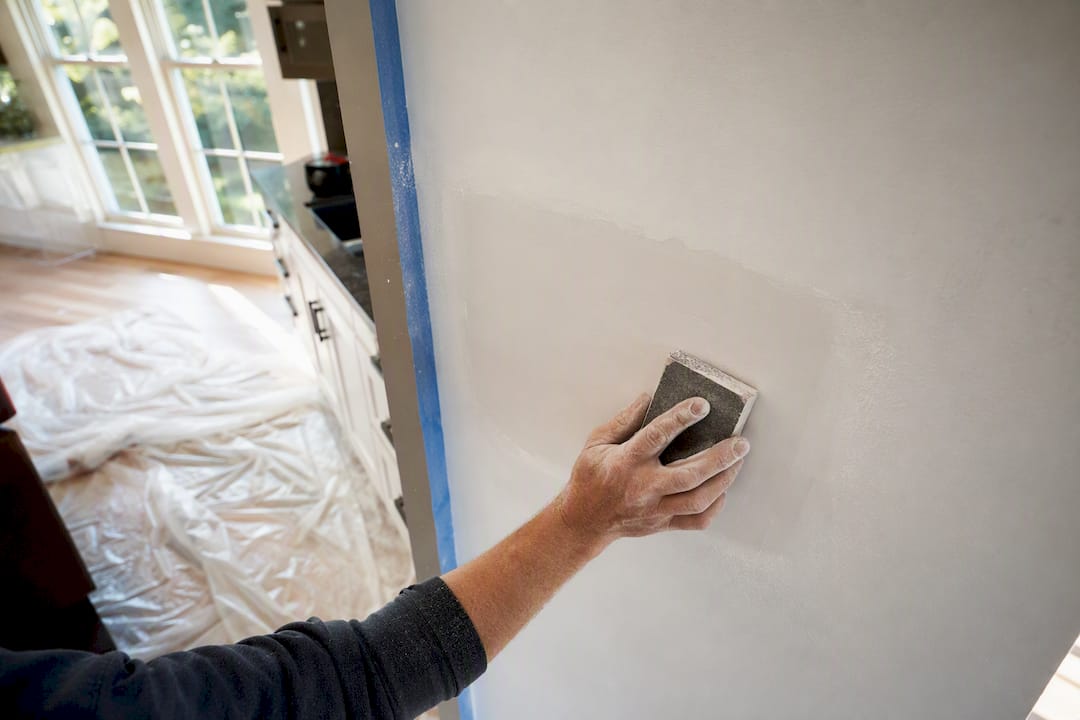
- Feather the edges. Sand with 120 grit to knock down the ridge where old paint meets bare surface, then switch to 220 grit for a smooth transition. Run the back of your hand over the edge to check for ridges; if you can feel a step, keep sanding.
- Clean the area. Wipe away dust and debris with a damp cloth and let it dry fully.
- Patch any holes or gouges with lightweight spackle, then sand flush once dry, typically 1 to 2 hours for small repairs.
- Prime bare and patched spots. Use a bonding primer for glossy or oily surfaces, and a stain-blocking primer if you see tannin marks or water stains. For ceilings with old calcimine paint or chalky residue, a high-adhesion sealer locks the surface down before you patch or paint. If the patch involves bare plaster, confirm it has cured and hardened rather than staying soft or powdery.
- Let primer dry per the label, usually 1 to 4 hours, before recoating.
- Apply two thin topcoats, feathering each one into the surrounding paint and respecting the manufacturer’s recoat window, often 2 to 4 hours between coats.
Watch for these problems as you go: new blisters mean moisture is still present and you need to stop; a visible seam means more feathering is needed; and stain bleed-through means the primer wasn’t a stain-blocking type. Full projects, from scraping to final coat, often stretch across several days once drying times are factored in, since drying is the real bottleneck, not the labor itself.
How Do You Stop Paint From Peeling Again?
A repair only holds if the conditions that caused the peeling actually change. Start with ventilation: run bathroom and kitchen exhaust fans during and after showers or cooking, and check that they vent outside rather than into an attic space.
- Match the primer and paint system to the room’s humidity, using moisture-resistant formulas in bathrooms and kitchens.
- Apply each coat at the recommended thickness. A coat applied too thick skins over on the surface while staying wet underneath, which leads to future peeling.
- Respect drying times between coats rather than rushing to finish in a day.
- Walk through repaired rooms every few months and touch up small chips before they spread.
Pro Tip: Keep a labeled sample of your topcoat color and sheen in a sealed jar. A five-minute touch-up on a small chip stops it from becoming a full peeling patch later.
When Should You Call a Painting Professional?
DIY repair works well for isolated patches with a clear, fixable cause. Call a professional when peeling keeps returning after repair, covers a large wall or ceiling area, or traces back to a leak you can’t locate or access yourself. Suspected lead paint or visible structural damage behind the surface are also reasons to stop and bring in a contractor.
A professional service typically traces the moisture source, remediates the substrate rather than just patching over it, and backs the work with a warranty. Before hiring, ask for photo documentation of the repair, written warranty terms, and the specific paint brand used.
Pro Tip: Ask any contractor how they handle stain bleed-through and calcimine ceilings specifically. Their answer tells you fast whether they’re diagnosing the cause or just repainting over it.
What Most DIYers Get Wrong About Feathering
The single biggest rework saver is feathering with two grits instead of one. Most people sand once, call it smooth, and prime anyway. Run your palm over the dry edge before priming. If you feel any step at all, it will show under the topcoat.
The second mistake is rushing prep because the patch looks fine dry. It rarely stays fine. Thorough scraping and priming cost an extra hour but protect the warranty on any paint job, DIY or professional, since most manufacturer guarantees exclude failures tied to poor surface prep.
Get a Guaranteed Peeling Paint Repair Without the Trial and Error
If the moisture source is fixed and the peeling is isolated, DIY repair with the right primer and patience will hold. For larger jobs, recurring failures, or ceilings with old, unknown paint layers, 5starpainting handles the diagnosis and remediation for you instead of leaving you to guess at primer choice and drying windows.

Every job comes with all-inclusive pricing covering labor, genuine Nippon Paint, furniture protection, and cleanup, with no hidden add-ons once the estimate is set. A dedicated project manager oversees your job from surface prep through final coat, and the finished work carries a one-year warranty against failures like the ones this guide just walked through. HDB flat owners can start with the HDB painting service page, while condo owners preparing a unit for resale can check the condo painting service page for pricing specific to larger spaces. Request a quote, describe the peeling pattern you’re seeing, and expect a walkthrough of the repair plan before any work begins.
Sources
For deeper technical guidance, see Sherwin-Williams’ plaster repair walkthrough and RealSimple’s peeling paint causes and steps.
- How to Fix Peeling Paint: Causes and Repair Steps — RealSimple
- How to Fix Peeling Paint on Plaster Walls and Ceilings | Sherwin-Williams
- Rapidrepair
- How to Fix Peeling Paint: Causes and Repair Steps — PaintPricing
One Response