
Choose semi-gloss for trim, doors, kitchens, bathrooms, and any wet or high-touch surface you clean often. Choose satin for living rooms, bedrooms, and hallways where you want a softer look that forgives small wall flaws. Semi-gloss wins on durability and washability; satin wins on appearance and ease of touch-up.
TL;DR:
- Semi-gloss contains more resin, making it more durable, moisture-resistant, and easier to clean, especially in high-touch or wet areas.
- Satin uses less resin, offering a softer, less reflective surface that better conceals minor wall imperfections in living spaces.
- Semi-gloss reflects light strongly, which can highlight wall flaws and cause glare, while satin diffuses light for a warmer appearance.
- Semi-gloss is preferred for trim, doors, and surfaces exposed to moisture or frequent cleaning; satin is best for large, visible walls in moderate-traffic rooms.
- Proper surface preparation, application in thin coats, and professional help are crucial for achieving an even, long-lasting finish in either sheen.
Table of Contents
- Satin vs. Semi-Gloss: What Actually Separates the Two Finishes
- When Semi-Gloss Is the Right Call
- When Satin Makes More Sense
- How Light and Surface Condition Change What You See
- Getting a Durable, Even Finish: Prep, Application, and Touch-Ups
- Why Hiring a Pro Pays Off on Bigger Jobs
- The One Rule Worth Remembering
- Get a Consistent Finish Without the Guesswork
- Sources
Satin vs. Semi-Gloss: What Actually Separates the Two Finishes
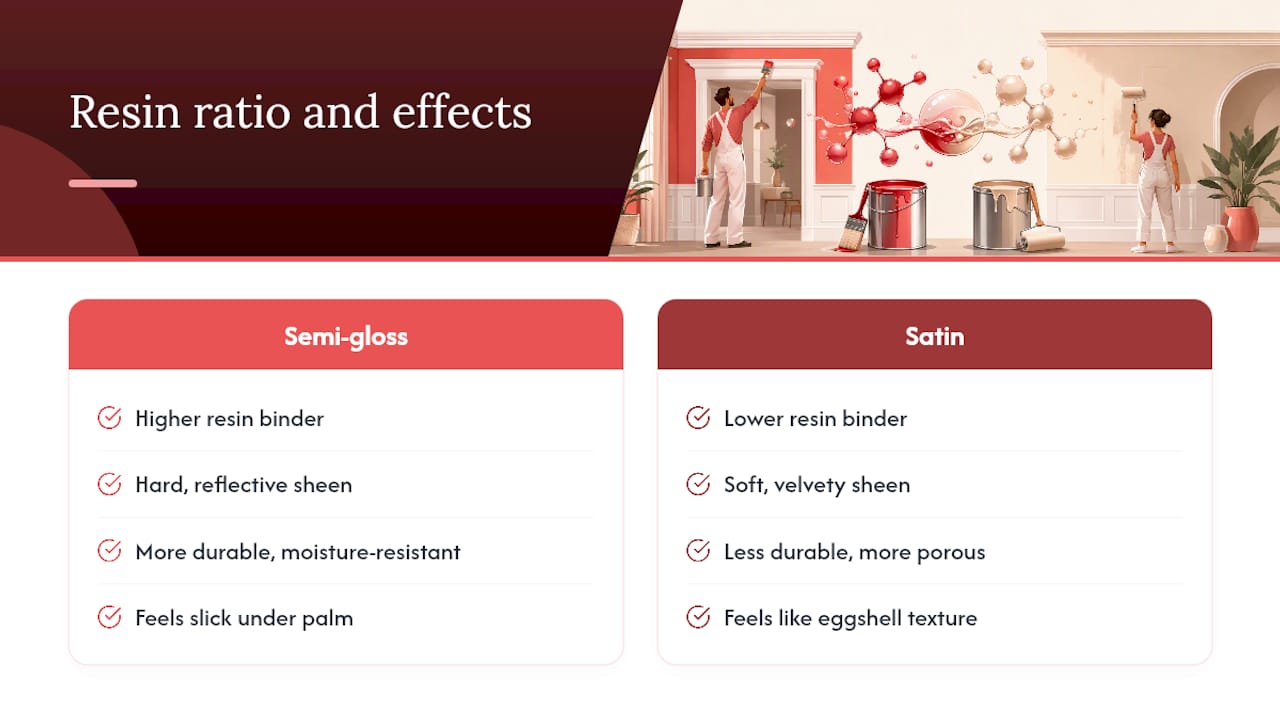
The difference between satin and semi-gloss comes down to a ratio, not a color or brand. Both finishes start with the same basic ingredients: pigment, resin (the binder), and liquid carriers. What changes is how much resin sits in that mix. Semi-gloss packs in more resinous binder, which builds a harder, more reflective, and more moisture-resistant film once it cures. Satin uses less binder relative to pigment, so it lays down a softer, more velvety surface that scatters light instead of bouncing it back sharply.
That resin content is the reason semi-gloss feels almost slick under your palm, while satin feels closer to the texture of eggshell paint. Pros use that tactile test to identify a finish when the can is unlabeled. More resin also means less porosity, and less porosity means fewer places for grease, steam, or fingerprints to soak into the film. That’s the whole story behind why one finish shrugs off a kitchen and the other doesn’t.
When Semi-Gloss Is the Right Call
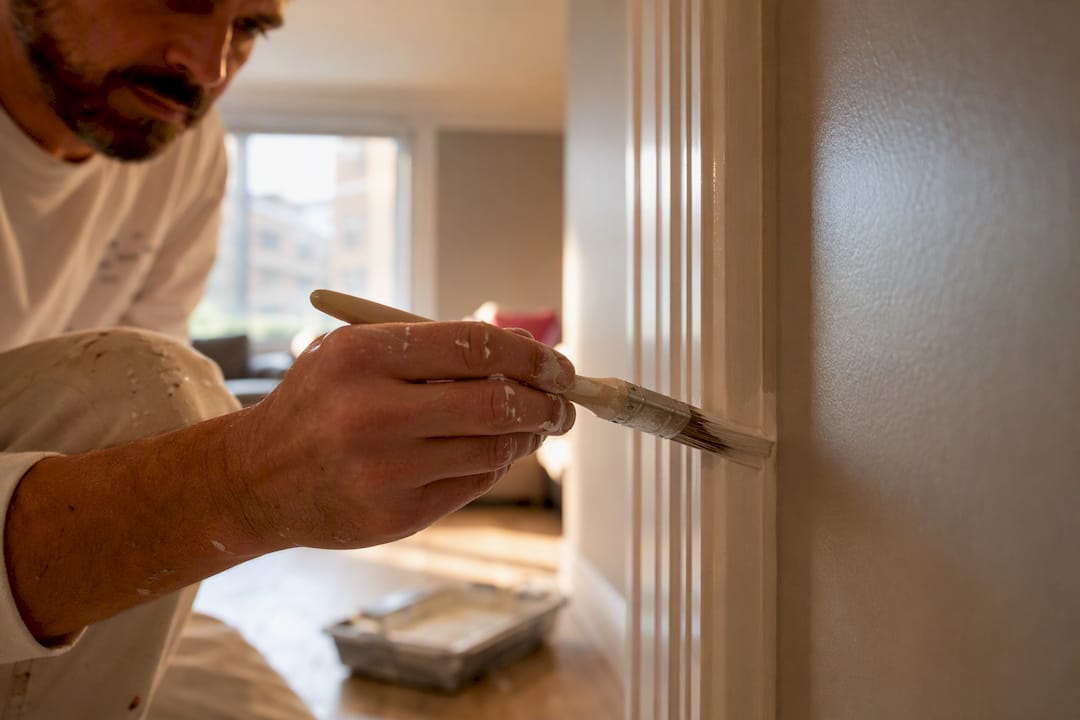
Semi-gloss earns its reputation on surfaces that get touched, splashed, or steamed on a regular basis. Reach for it on trim, doors, baseboards, kitchen and bathroom walls, laundry rooms, and busy hallway corridors where wipeable durability matters more than a soft glow.
- Its hydrophobic film sheds moisture instead of absorbing it, which is why it holds up near sinks, tubs, and stovetops.
- It resists scuffs and scrapes, which matters on doors and baseboards that take daily contact.
- A damp cloth lifts most grime without disturbing the finish underneath.
The tradeoff is visibility. Semi-gloss reflects light aggressively, and that reflection has no mercy for drywall seams, nail pops, or roller texture. Large wall expanses in semi-gloss can develop distracting glare depending on where the light hits, and a rushed touch-up will often “flash,” meaning the patch reads as a slightly different sheen once it dries.
Pro Tip: Skip thick coats on semi-gloss projects. Two or three thin coats level out far better than one heavy one, and they cut down on brush strokes, pooling, and that bumpy “orange peel” texture professionals work hard to avoid.
When Satin Makes More Sense
Satin is the workhorse finish for the rooms you actually live in. It fits living rooms, bedrooms, hallways, and occasionally cabinetry or trim where a homeowner wants something less clinical than semi-gloss. Moderate-traffic living spaces are where satin’s balance of durability and softness pays off.
- It diffuses light rather than throwing it back, so drywall texture and minor patch marks stay less obvious.
- It still holds up to a reasonable amount of cleaning, just not to the same degree as semi-gloss.
- It suits walls where you want warmth in the room, not a showroom shine.
The catch is repair work. Satin’s mid-range sheen makes patch jobs tricky, because a small touch-up often dries with a visibly different texture than the surrounding paint. Professionals generally recommend repainting the full wall rather than spot-patching satin to avoid that mismatch. As a working rule, save satin for the big, visible wall expanses and hold semi-gloss for the smaller architectural pieces you’ll be wiping down constantly, like door frames and window trim.
Pro Tip: Before repainting a whole wall over one scuff, ask whether the mark will actually bother you from across the room. Sometimes living with a small flaw beats the labor of a full repaint.
How Light and Surface Condition Change What You See
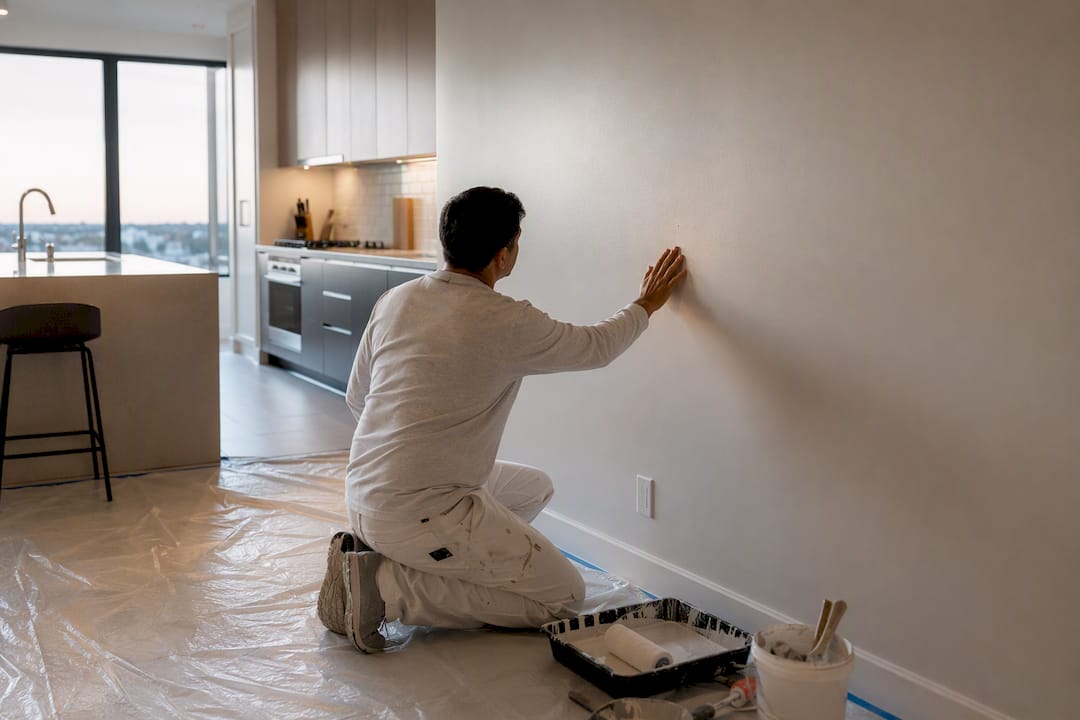
Sheen doesn’t behave in isolation. A satin wall under a north-facing window can look almost matte, while the same paint under a bright overhead fixture picks up visible highlights. Semi-gloss reacts even more strongly. Direct or angled light creates hot spots that travel across the wall as you move, and those same hot spots are what expose lap marks, roller texture, or uneven drywall patching that flat paint would hide.
The safest move before committing to a full room is painting a sample panel, roughly two feet by two feet, and viewing it at different times of day. Morning light, midday sun, and lamp light at night all reveal different things. A finish that looks perfect at noon can show every imperfection under a table lamp at 9 p.m.
Getting a Durable, Even Finish: Prep, Application, and Touch-Ups
- Prep the surface first. Patch holes, sand rough spots smooth, and wipe away dust before any primer goes on. Stains, bare plaster, or repaired drywall usually call for a dedicated primer to keep the topcoat from soaking in unevenly. Reviewing common paint types beforehand helps match the right primer to the surface.
- Apply in thin, even coats. Use a quality brush for edges and a roller sized to the texture of your wall. Watch the room’s humidity and temperature; both finishes level and dry better in moderate conditions, and rushing dry time between coats invites pooling and orange peel texture.
- Clean gently once cured. A mild detergent and soft cloth handle most marks on either finish. Test any cleaner on a hidden spot first, and skip abrasive scrubbers, which can burnish semi-gloss or dull satin’s texture. Full cleaning steps are worth bookmarking before move-in day.
- Plan touch-ups realistically. Small semi-gloss patches on trim usually blend fine. Satin patches on a large wall rarely do, so budget for a full repaint on visible walls rather than a quick dab.
Pro Tip: Keep a labeled leftover can from every project, including the sheen and batch number. Matching sheen exactly is half the battle when a touch-up becomes unavoidable months later.
Why Hiring a Pro Pays Off on Bigger Jobs
Getting even sheen across a whole condo or HDB flat is harder than it looks once multiple rooms and finishes are involved. 5starpainting assigns a dedicated project manager to each job, uses genuine Nippon Paint products, and bundles labor, furniture protection, and cleanup into one fixed price. That level of prep control is what keeps semi-gloss from flashing on trim runs and keeps satin walls looking uniform room to room. Hiring out makes the most sense when patching is extensive, a warranty matters, or your timeline is tight.
The One Rule Worth Remembering
If you take one thing from all of this, make it this: semi-gloss for trim and anything that gets wet or wiped down, satin for the walls you actually look at every day. When you’re genuinely torn, paint a small sample and check it under morning light and lamp light before you commit a whole room. And if the walls have serious cracks, stains, or patch history, or you want a warranty backing the work, that’s the point where calling in a professional painting service saves more money than it costs.
— Fabian
Get a Consistent Finish Without the Guesswork
Picking the right sheen is only half the job. The harder half is applying it evenly across an entire flat without lap marks, flashing, or a patch job that never quite blends in, and that’s exactly where 5starpainting’s all-inclusive packages take the pressure off. Every project comes with genuine Nippon Paint, furniture protection, full cleanup, and a dedicated project manager who oversees prep so semi-gloss trim and satin walls both come out looking intentional, not patchy.

Whether you’re prepping an HDB flat or a condo, pricing is fixed upfront with no hidden fees, and the work is backed by a one-year warranty. If you’re weighing satin against semi-gloss for a whole-home repaint, get a quote through the 5starpainting service page and let a project manager walk through the room-by-room finish plan with you before work starts. For interior doors specifically, this sheen guide for doors is a useful companion read.
Sources
- Satin vs. Semi-Gloss: What’s the Difference? | Bob Vila
- Semi-Gloss vs Satin: Which Should You Use? | The Spruce
- Satin paint 101 and best uses | Home Edit
- What Is Satin Paint: Sheen ratings, benefits, and room selection | Build-Construct
- Satin vs. Semi-Gloss: Designer recommendations | Elle Decor
2 Responses