
The quickest safe fix follows one order: soften the adhesive with low heat, lift it with a plastic scraper, wipe with warm soapy water, then finish stubborn traces with isopropyl alcohol. Test any solvent in a hidden spot first, and skip acetone or paint thinner on painted finishes unless nothing else has worked. Keep your scraper angle low, around 45 degrees, and work quickly but gently so you never gouge the paint underneath.
- Heat softens the adhesive polymer so it lifts instead of tears
- A plastic scraper at 45 degrees avoids scratching the topcoat
- Warm soapy water handles what’s left; isopropyl alcohol clears the rest
- Always test solvents on a hidden section before using them on visible walls
Key Takeaways
Removing tape residue from painted walls safely comes down to sequencing: heat first, plastic tools only, mild solvents last, and always test before applying anything to visible paint.
| Point | Details |
|---|---|
| Follow the safe sequence | Heat, then plastic scraper, then soapy water, then isopropyl alcohol for stubborn traces. |
| Match solvent to adhesive | Use isopropyl for acrylic tape residue and mineral spirits only for rubber-based adhesive. |
| Time your tape removal | Pull tape while paint is still tacky, generally 30 to 60 minutes after the final coat. |
| Test before you commit | Apply any solvent to a hidden spot first to rule out discoloration or sheen changes. |
| Know when to call a pro | Oxidized adhesive, glossy finishes, or visible paint damage call for professional repair. |
Table of Contents
- At-a-Glance Safe Methods for Removing Tape Residue From Paint
- A Step-By-Step Workflow for Removing Tape Residue
- Matching Your Method to the Type of Adhesive
- Preventing Tape Residue Before It Happens
- Latex vs. Oil-Based Paint: Why Removal Techniques Differ
- When a Tape Residue Problem Needs a Professional
- Getting Professional Help With Paint Damage and Repairs
- Why Most Tape Residue Problems Are Really Prevention Problems
- Sources
At-a-Glance Safe Methods for Removing Tape Residue From Paint
Not every sticky patch needs the same treatment. Fresh residue from tape you removed yesterday behaves differently than the gummy leftovers from tape that sat on a wall for two years. Matching the method to the mess saves you time and protects your paint job.
- Warm soapy water. This is your first move for fresh residue and water-based adhesives. It’s gentle, cheap, and won’t touch most painted finishes.
- Heat plus a plastic scraper. A hair dryer softens the adhesive’s polymer structure, making old or hardened residue peel away instead of smearing. This combination works especially well on residue that’s been sitting for months.
- Isopropyl alcohol. Acrylic pressure-sensitive adhesives, the kind found in most painter’s tape, respond well to 70 to 90 percent isopropyl alcohol applied for short bursts. Always test first.
- Mineral spirits or a commercial remover. Reserve these for residue that laughs off everything else, and only on finishes you’ve confirmed can tolerate them.
A quick trick worth trying before any solvent: press a fresh piece of tape onto the old residue and lift it away. It sounds too simple, but the fresh adhesive often grabs the old gunk right off the wall.
A Step-By-Step Workflow for Removing Tape Residue
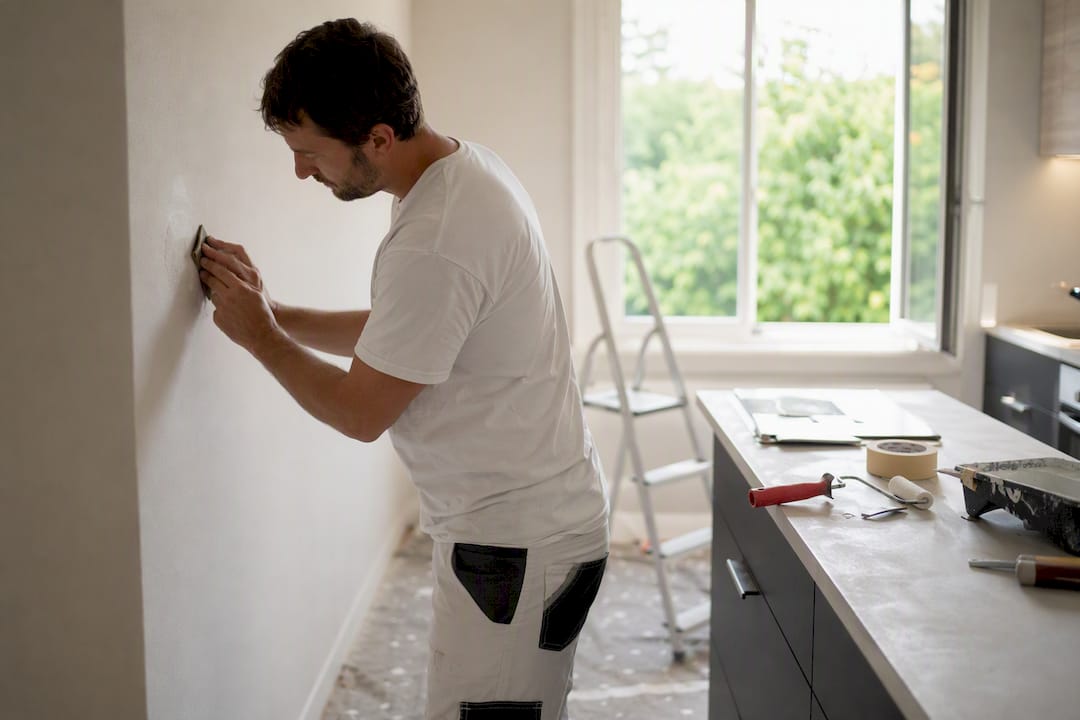
Gather your tools before you start: a microfiber cloth, a plastic scraper or old gift card, a hair dryer, isopropyl alcohol, mild dish soap, and a pair of gloves if you have sensitive skin. Skip metal scrapers entirely. They cut through paint faster than they cut through residue.
- Test first. Dab your chosen solvent on an inconspicuous patch, like behind a light switch plate, and wait a few minutes to check for discoloration or sheen changes.
- Apply heat. Hold the hair dryer roughly 6 to 8 inches from the wall on a low or medium setting, moving it constantly for 30 to 60 seconds over the residue. Standing in one spot too long risks blistering the paint.
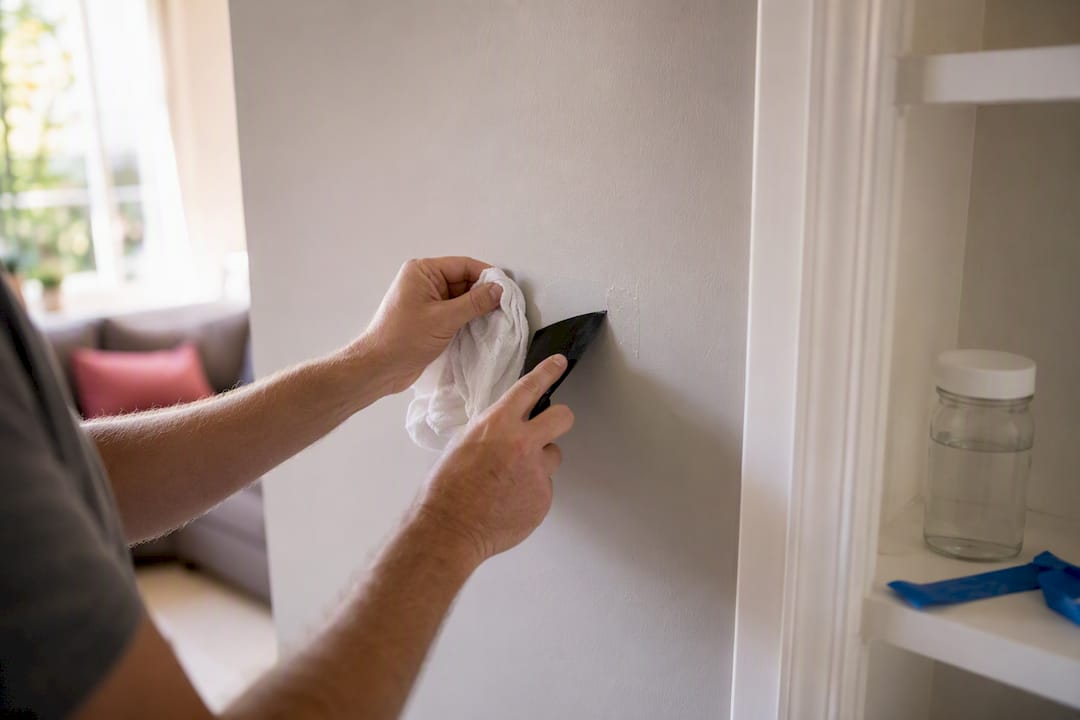
- Scrape at a shallow angle. Once the adhesive feels tacky and warm, work your plastic scraper under the edge at about 45 degrees. Push in one direction rather than sawing back and forth.
- Wash with soapy water. Mix 1 tablespoon of mild dish soap into a cup of warm water, dampen a cloth, and press it against any remaining residue for about two minutes before wiping.
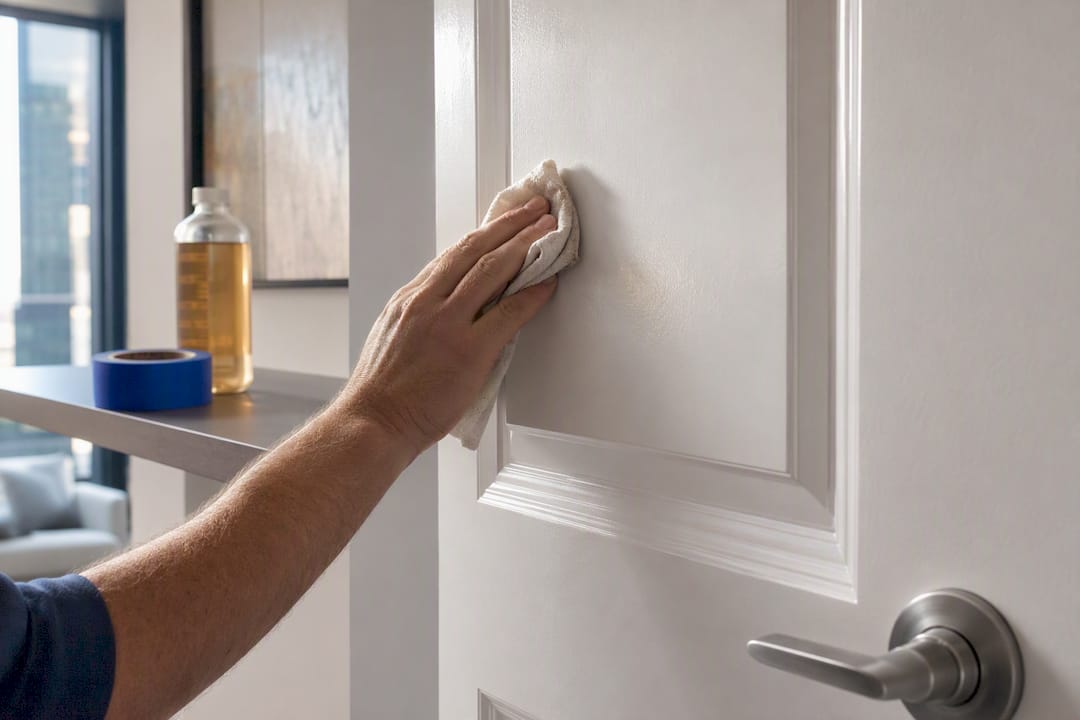
- Finish with isopropyl alcohol. For anything still clinging on, apply alcohol to a cloth, not directly to the wall, and hold it against the spot for 30 to 90 seconds before wiping clean.
- Rinse and inspect. Wipe the area with a clean, damp cloth, then let it dry. Check the surface under raking light, meaning a lamp held at a low angle, to spot any dulled sheen or paint lift that needs a touch-up.
Pro Tip: Never pour solvent directly onto the wall. Saturate the cloth first so you control exactly how much contact time the paint gets.
Patience here beats speed. Scrubbing immediately after applying solvent tends to smear the dissolved adhesive across a wider area instead of lifting it clean.
Matching Your Method to the Type of Adhesive
Not all tape residue is created equal, and treating rubber-based glue like it’s an acrylic adhesive wastes time and risks your paint. A quick feel test tells you a lot: acrylic pressure-sensitive adhesives (common in most painter’s and masking tape) feel slightly rubbery and dissolve fast with alcohol. Rubber-based adhesives feel gummier and stringier, and they need a stronger hydrocarbon solvent to break down. Water-based adhesives, often found on cheaper paper tapes, soften almost instantly with soap and water alone.
| Adhesive Type | Identification | Recommended Approach | Contact Time |
|---|---|---|---|
| Acrylic pressure-sensitive | Slightly rubbery, common on painter’s tape | Isopropyl alcohol (70 to 90%) on a cloth | 30 to 90 seconds |
| Rubber-based | Stringy, gummy residue | Mineral spirits, tested first | about two minutes |
| Water-based | Thin, paper tape residue | Warm soapy water | 2 minutes |
| Contact adhesive | Very tacky, resists soap | Heat pre-treatment, then targeted solvent | Varies by finish |
- Avoid acetone entirely on lacquer or shellac finishes as it can strip the topcoat in seconds.
- On polyurethane-coated surfaces, keep any solvent’s contact time brief to prevent softening the clear coat.
- Aged, oxidized residue often needs heat before any solvent touches it, since the adhesive has already hardened and lost its original tack.
Preventing Tape Residue Before It Happens
The best residue removal is the kind you never have to do. Choosing the right tape and applying it correctly saves you the whole cleanup process.
- Buy low-tack painter’s tape rather than standard packing or duct tape, and check the label for the manufacturer’s recommended dwell time.
- Press the tape’s edges firmly with a putty knife to seal it against the wall, which stops paint from bleeding underneath.
- Remove tape while the paint is still slightly tacky, typically 30 to 60 minutes after the final coat, rather than waiting for full cure.
- Pull the tape back on itself at a 45-degree angle instead of straight out from the wall.
- If the paint has fully dried before you get to it, score along the tape’s edge with a utility knife first so you don’t pull paint away with the tape.
- Avoid leaving tape up during hot, humid stretches. Extended heat exposure bakes the adhesive onto the wall, making residue far harder to remove later.
Pro Tip: Run a thin coat of the wall’s base color over the tape edge before your topcoat. This “sealing coat” trick locks the tape down and gives you razor-sharp lines with almost no bleed underneath.
Latex vs. Oil-Based Paint: Why Removal Techniques Differ
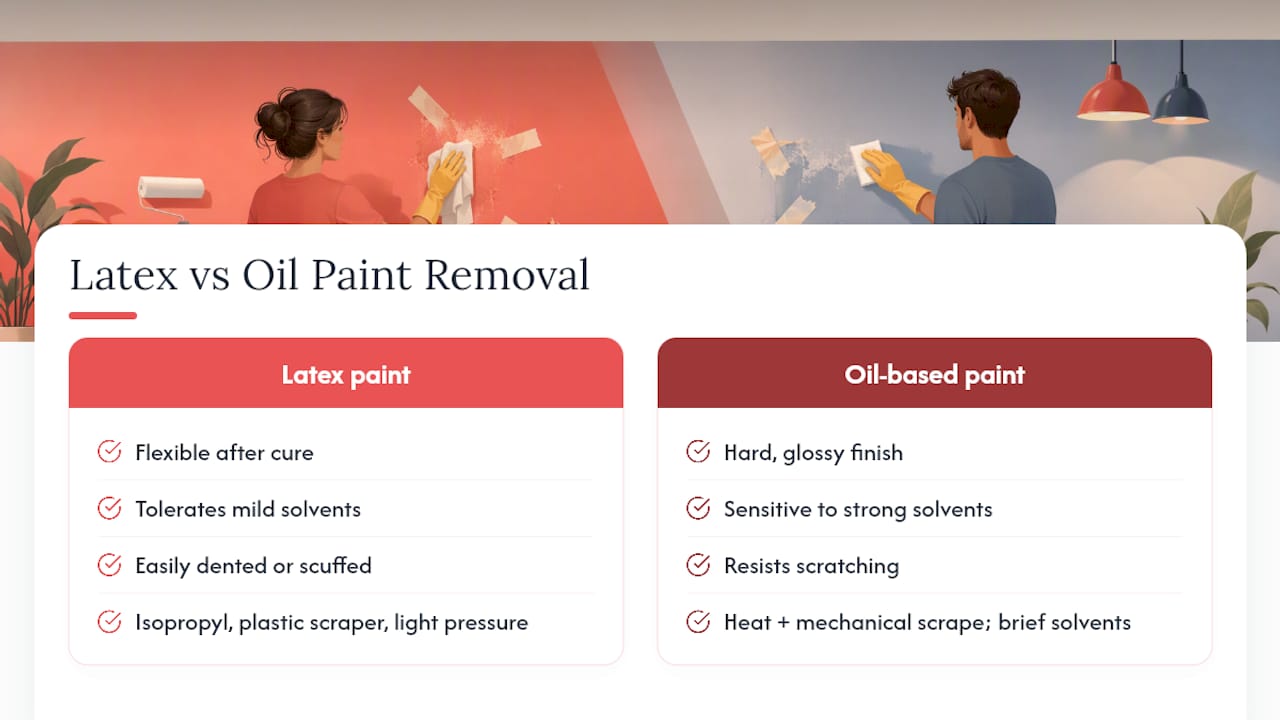
Latex paint and oil-based paint don’t behave the same way when adhesive is sitting on top of them, and treating them identically is where a lot of DIY cleanups go wrong. Latex paint stays somewhat flexible even after it fully cures, which is good news: it tolerates gentle scraping and mild solvents like isopropyl alcohol reasonably well. But that same flexibility means latex can dent or scuff more easily under a metal tool or aggressive scrubbing, so stick with plastic and keep pressure light.
Oil-based paint cures into a harder, glossier shell, which resists scratching better than latex but reacts more dramatically to strong solvents. Mineral spirits, which are sometimes necessary for rubber-based adhesive on latex walls, can soften an oil-based finish if left in contact too long. On oil-based trim and doors, keep solvent contact brief and lean more heavily on heat and mechanical scraping before reaching for chemicals.
Older homes sometimes hide another wrinkle: layers of oil-based paint under a newer latex topcoat. If you notice the wall softening, tackifying, or changing sheen unexpectedly during cleanup, stop. That reaction usually means the solvent has worked through to a different paint layer underneath, and continuing risks a visible patch you’ll need to repaint entirely.
When a Tape Residue Problem Needs a Professional
Some jobs are worth handing off. If the adhesive has oxidized and hardened over months or years, if you’re working on high-gloss cabinetry or trim, or if a DIY attempt has already dulled the sheen or lifted paint, call a professional before making it worse. Pros use controlled testing on hidden areas, brief and precise solvent contact times, and can perform localized sanding and color-matched touch-ups that blend seamlessly instead of leaving a patch.
5starpainting brings more than 30 years of experience to jobs like this, backed by all-inclusive pricing that covers labor, genuine Nippon Paint, and cleanup with no hidden fees. Every project gets a dedicated project manager overseeing meticulous surface preparation from start to finish, the same attention to detail that prevents residue problems before they start. Professional painters, as detailed in guides on handling delicate surfaces, rely on exactly this kind of controlled, tested approach rather than guessing with whatever solvent is under the sink.
Getting Professional Help With Paint Damage and Repairs
If your walls already show scuffing, dulled patches, or lifted paint from a tape residue attempt gone sideways, DIY touch-ups rarely match the original finish. A mismatched patch often stands out more than the residue ever did.
5starpainting handles this kind of repair work as part of full residential painting services for HDB flats, condos, and landed properties, with all-inclusive pricing that covers labor, genuine Nippon Paint, furniture protection, and a one-year warranty. Homeowners preparing a unit for resale, or anyone tired of patchy DIY fixes, can start with the HDB painting services page, which lists packages from $600, or the condo painting services page starting from $950. Both come with a personal project manager assigned to the job, meticulous surface preparation, and cleanup included, so there’s no guesswork about hidden costs.
Why Most Tape Residue Problems Are Really Prevention Problems
The residue itself is almost never the hard part. Warm water, a hair dryer, and a little isopropyl alcohol solve the vast majority of cases in under ten minutes. What actually trips people up is the removal timing: waiting too long to pull the tape, letting it bake in a humid room for a week, or yanking it straight off instead of at an angle.
That’s the part conventional advice glosses over. Most guides focus heavily on solvents and scrapers, as if the fix matters more than the habit that created the mess. In practice, the homeowners who never deal with stubborn residue are the ones who treat tape removal as part of the painting process itself, not an afterthought once the walls look finished. They pull tape while the paint is still slightly tacky, they score dried edges before pulling, and they never let tape sit through a heat wave.
The other overlooked issue is finish mismatch. People use the same aggressive solvent on a flat latex wall that they’d use on a glossy oil-based door frame, and then wonder why the sheen looks patchy afterward. Reading your paint’s finish before reaching for mineral spirits or alcohol matters as much as reading the adhesive type. Get both right, and residue removal stops being a project and becomes a five-minute chore.
— Fabian
Sources
For manufacturer-backed guidance, see Scotch Painter’s Tape removal tips, the Stain Removal Guides method, Start Woodworking Now’s adhesive chemistry guide, and PaintAnswers’ solvent safety overview.
- How to Remove Tape Residue from Painted Walls | Stain Removal Guides
- How to Remove Painter’s Tape | Scotch® Painter’s Tape
- How to remove tape residue from wood | Start Woodworking Now