
Most crayon marks come off or fade enough to disappear with the right sequence, and only heavy or old wax typically needs primer and a fresh coat of paint. Start small: dust the area, spot-test in a hidden spot, then wipe with a barely damp microfiber cloth and one drop of dish soap. Stop immediately if you notice the paint’s sheen changing.
TL;DR:
- Most crayon marks can be removed with simple cleaning methods like dish soap, erasers, or baking soda paste, especially on newer, lighter stains.
- For stubborn or older marks, heat or mild abrasive tools like a Magic Eraser can be effective but carry a risk of damaging flat or matte paint finishes.
- Sanding and priming may be necessary if cleaning leaves shadowing or surface bumps, with shellac or oil-based primers offering the best stain-blocking capability.
- Repainting small touched-up areas requires matching sheen precisely and blending edges; large or multilayered marks are better handled by professional painters.
- Prevent future crayon marks by designating drawing spaces for kids and choosing washable, scrubbable paint finishes for high-traffic or children’s areas.
Table of Contents
- How Do You Remove Crayon Marks From Walls Step by Step?
- When Should You Use Stronger Cleaning Methods?
- What if Cleaning Doesn’t Fully Remove the Marks?
- When Should You Hire a Professional Painter?
- How Can You Prevent Crayon Marks in the Future?
- Why the Cleaning Order Matters More Than the Product
- Sources
How Do You Remove Crayon Marks From Walls Step by Step?
Before you touch a sponge to the wall, check the paint finish. Flat and matte paints are the most fragile and can burnish or develop a shiny halo with too much scrubbing, while satin and semi-gloss finishes tolerate light moisture better. Pick a hidden spot, like behind a door or inside a closet, and test your chosen method there first.
Work through these steps in order, moving to the next one only if the previous method doesn’t fully clear the mark:
- Dry dust first. Wipe the area with a soft, dry cloth to remove loose debris so you’re not grinding grit into the paint.
- Damp microfiber + dish soap. Dampen a microfiber cloth, add one drop of dish soap, and wipe in small circles. This handles fresh or light crayon marks most of the time.
- White pencil eraser. For marks that resist soap, rub gently with a plain white eraser (not a colored one, which can transfer its own pigment).
- Baking soda paste. Mix three parts baking soda to one part water into a paste, apply with a soft cloth, and rub in gentle circles.
- Toothpaste (plain, not gel). A dab of plain white toothpaste works similarly to baking soda paste and is worth trying if you’re out of baking soda.
- Rinse and dry. Wipe the area with a clean, damp cloth to remove residue, then dry it with a towel.
A few things determine whether you repeat a step or move on:
- If the mark visibly lightens with each pass, keep going with the same method.
- If there’s zero change after two or three attempts, escalate to the next method rather than scrubbing harder.
- Stop immediately if you see a shiny halo, color loss, or the paint starting to lift. That’s your cue to switch to priming instead of cleaning.
Pro Tip: Always check your work under a bright, direct light source, like a flashlight held at an angle. A faint shadow that’s invisible under normal room lighting often means pigment is still there, and it will likely show through fresh paint unless you seal it with primer first.
When Should You Use Stronger Cleaning Methods?
If soap, erasers, and baking soda haven’t fully cleared the mark, a few stronger options exist, but each comes with a real risk to your paint.
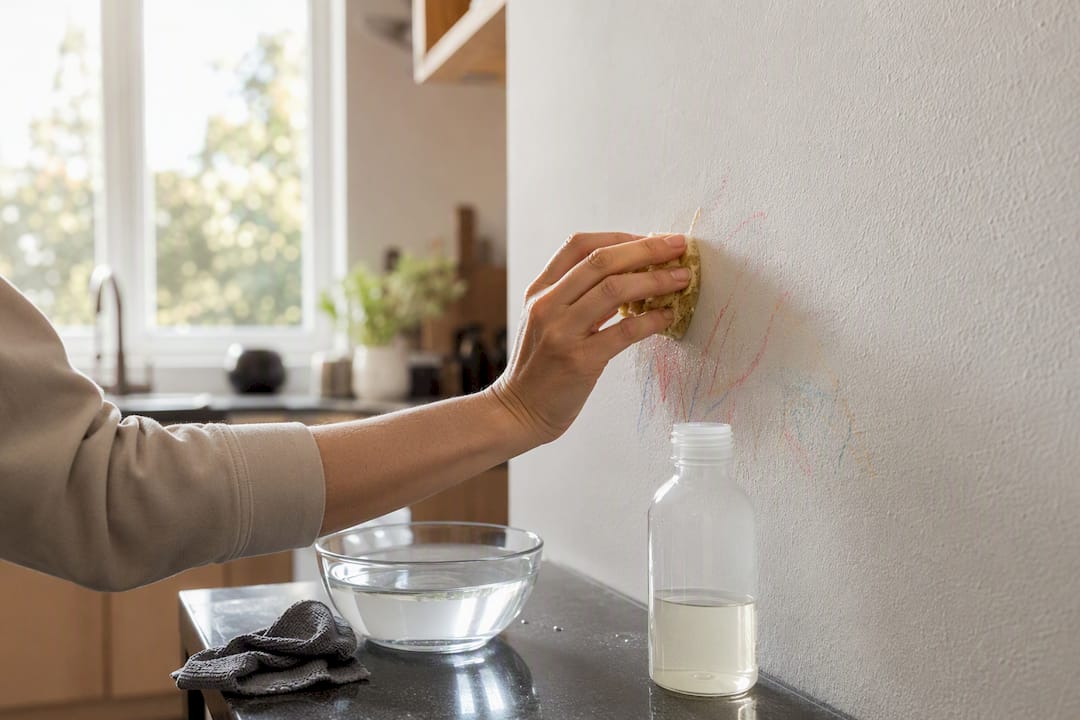
A melamine foam eraser (the kind sold as a Magic Eraser) is genuinely effective on crayon wax, but it works through micro-abrasion. That means it’s mildly sanding your wall every time you use it. Dampen it, squeeze out excess water, and use one or two feather-light passes after spot-testing, especially on dark colors or flat finishes where dulling shows up fastest.
Heat can soften crayon wax enough to lift it without any scrubbing at all:
- Hairdryer method: Hold the dryer about 6 inches from the wall on low heat, warm the mark for roughly 30 seconds, then blot with a clean cloth.
- Iron + cloth method: Place a clean cloth or paper towel over the mark and press a warm iron on low heat over it briefly. Swap to a fresh section of cloth as it absorbs wax, so you don’t transfer the wax right back onto the wall.
- Keep the heat source moving and never let it sit in one spot, since overheating can scorch or bubble paint.
Oily household products, mayonnaise, WD-40, or Goo Gone, dissolve wax effectively, but they leave a residue behind that attracts dirt and can interfere with paint adhesion later. Apply the product to a cloth (never directly to the wall), work the mark, then follow up with dish soap and water to strip the oily film before it dries. If you reach for WD-40, work in a ventilated room and skip it entirely in a nursery or small bedroom.
Match the method to the mark. A month-old scribble from a toddler usually surrenders to soap and water. A years-old, heavily layered mark on a flat-finish wall is a better candidate for heat or foam, and possibly not worth cleaning at all if primer is coming next anyway.
What if Cleaning Doesn’t Fully Remove the Marks?
If the wall still shows shadowing after cleaning, or the wax has left the surface slightly bumpy, sanding and priming will finish the job cleaning couldn’t.
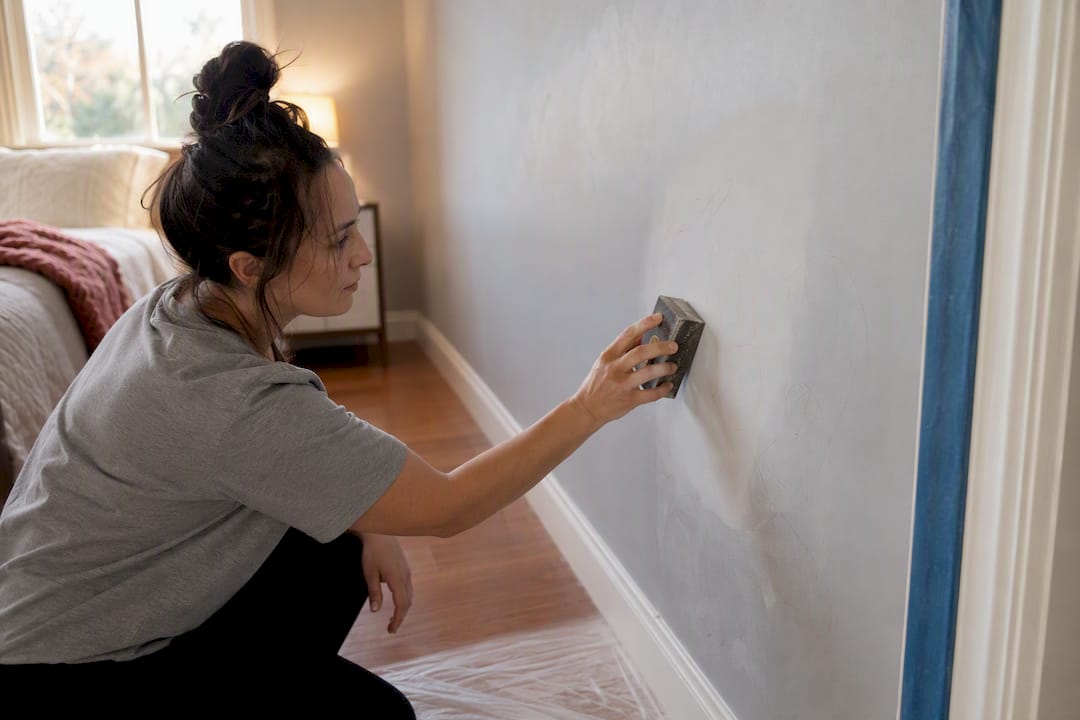
Sand only if you can actually feel a raised or waxy texture under your fingers. A fine grit, 220 or higher, is enough. Sanding rougher than that risks damaging the surrounding paint for no benefit. Wipe the dust away thoroughly with a tack cloth or damp rag before you prime; leftover dust under primer causes a gritty, uneven finish.
From there, pick a stain-blocking primer based on how stubborn the mark is:
- Oil-based primer handles heavy, older wax buildup best and blocks bleed-through reliably.
- Shellac-based primer is the strongest option overall and dries fast, though the smell is stronger and ventilation matters.
- High-quality waterborne stain-blocking primer works fine for lighter marks and is the easier, lower-odor choice for small touch-ups.
Plan on one or two coats, checking under bright light between coats to confirm the shadow is gone before you paint.
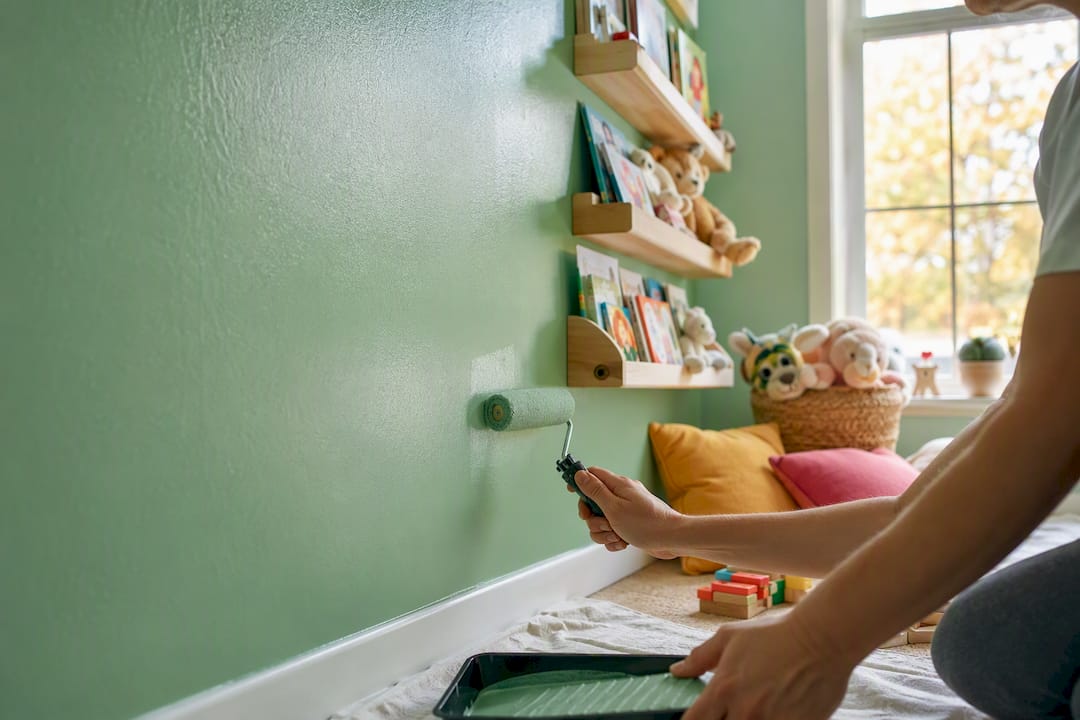
When you repaint, match the sheen of the surrounding wall exactly. Mixing a flat patch into a satin wall (or vice versa) creates a visible patch no matter how well the color matches. Apply thin, even coats and feather the edges outward so the touch-up blends rather than sits as an obvious rectangle. Our guide on applying primer paint walks through the technique in more detail.
Pro Tip: If the marks are scattered across a large section of wall rather than confined to one spot, repaint the entire wall corner to corner instead of patching. Spot touch-ups on aged paint almost always show a slight sheen or color difference once the paint cures.
When Should You Hire a Professional Painter?
DIY cleaning has a ceiling. Once the marks cover several walls, involve old and heavily layered wax, or you’re racing a resale deadline, the math shifts toward calling in professional interior painting services in Melbourne rather than losing a weekend to trial and error.
Watch for these signals that it’s time to bring in a pro:
- Crayon marks across multiple rooms or large wall sections
- Wax that’s been there for months or years and has already resisted cleaning attempts
- Paint damage (burnishing, lifted patches) from a DIY attempt gone wrong
- A tight timeline, like preparing a unit for viewing or handover
Hiring a professional painting service can save real time and avoid a patchy, mismatched repair, since a pro will run a test patch first to confirm the right primer and paint combination before committing to the full wall. With over 30 years in the trade, 5starpainting handles that testing, surface prep, and color matching with genuine Nippon Paint, all under one all-inclusive quote that covers labor, furniture protection, and cleanup. Every job gets a dedicated project manager, so you’re not chasing updates or guessing at the finish until it’s done.
How Can You Prevent Crayon Marks in the Future?
The cheapest fix for crayon marks is never having to clean them at all. If you’ve got young kids in the house, a few small changes go a long way toward protecting your walls long term.
Set up one designated drawing zone, whether that’s a low table with paper taped down, a roll of butcher paper mounted on a wall, or a chalkboard-painted panel in a playroom. Kids are far less likely to draw on random walls when they have a spot that’s clearly theirs to mark up.
Paint choice matters more than most people realize. Washable and scrubbable paint finishes are built to handle repeated cleaning without losing color or sheen, which makes them worth the small price premium in kids’ bedrooms, hallways, and playrooms. As covered earlier, satin and semi-gloss finishes hold up to cleaning far better than flat paint, so choosing the right sheen when you repaint is itself a form of prevention.
A quick wipe-down routine helps too. Crayon that sits for weeks bonds to the paint more stubbornly than crayon caught the same day. Our guide to cleaning painted walls covers a maintenance routine that catches marks early, before they turn into a weekend project.
Why the Cleaning Order Matters More Than the Product
Most guides jump straight to whatever product worked for them personally, an eraser, a specific spray, WD-40. That’s backwards advice. The order you try things in matters more than which specific product you reach for, because every method past soap and water carries some risk to your paint’s finish.
What gets underestimated is the light inspection step. Skipping it is the single biggest reason people end up repainting a wall twice: they clean a mark, it looks gone under regular lighting, they paint over it, and the shadow bleeds through weeks later because the pigment was never fully lifted.
My honest read: don’t chase a perfect clean on a flat-finish wall with heavy, old wax. You’ll burnish the paint trying, and end up needing primer anyway. Go straight to sanding and a shellac-based primer once soap and a gentle eraser have failed. For anything beyond a single wall, get a professional quote before you spend a Saturday on it. The prep work a pro brings, especially the test patch, is what actually prevents a patchy repair.
— Fabian
Ready to skip the trial and error? 5starpainting’s HDB painting service starts at $600 all-inclusive, covering surface prep, genuine Nippon Paint, furniture protection, and cleanup, with a dedicated project manager handling your job from start to finish. If you’re in a condo, our condo painting service applies the same all-inclusive approach at a scope built for larger units. Either way, you get one fixed quote with no surprise costs once the crew shows up.
Sources
- How to Remove Crayon From a Wall? Safe Steps for Painted Walls
- How to Remove Crayon from a Painted Wall | Stain Removal Guides
- How to Remove Crayon From a Wall Without Damaging the Paint
- How to Get Crayon Off Walls | Bob Vila