A freshly painted ceiling can brighten a space, create a sense of height, and tie the design scheme together. However, painting a ceiling can be tricky, especially for beginners, with all the challenges like achieving an even finish and working in hard-to-reach areas.
To help you paint your ceilings efficiently, we’ve outlined a guide on how to do proper prep work, choose the right paint, and work safely.
Preparing to Paint Your Room Ceiling
Thorough preparation is key to achieving a smooth, professional finish.
Here’s a guide to help you:
1. Clear the Room
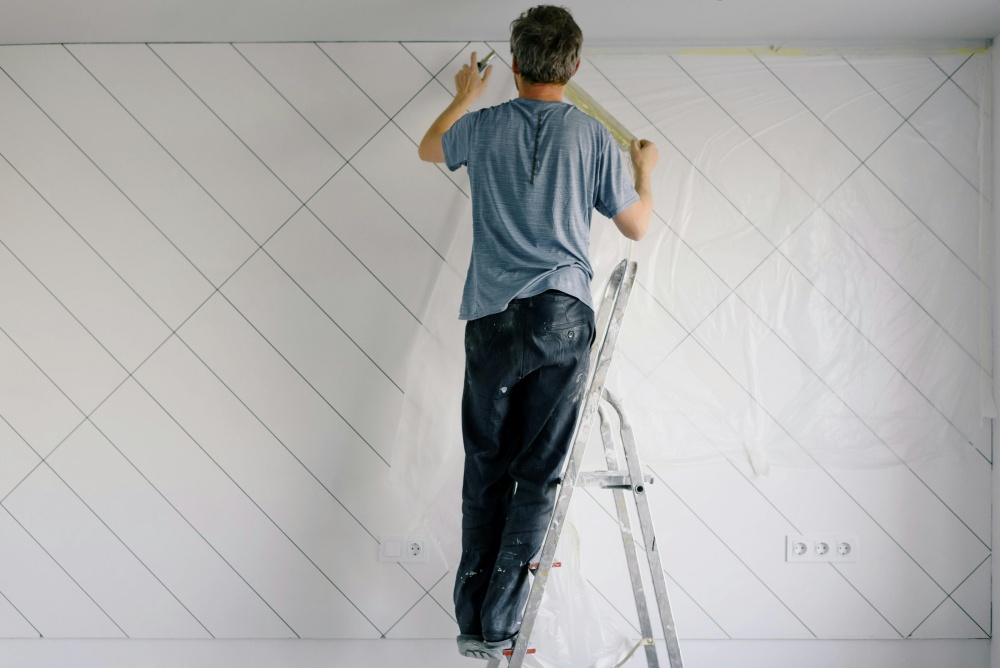
- Remove all furniture and use plastic sheets for floors and unpainted wall areas to protect them and create a clear workspace.
- If removal isn’t possible, cover furniture with drop cloths to shield it from paint splatters.
2. Clean the Ceiling
- Clear away dust, cobwebs, and any loose debris with a broom or vacuum.
- Gently wipe stubborn stains or grease marks with a damp cloth and mild detergent.
3. Repair Imperfections
- Fill cracks, holes, or uneven areas, with a suitable spackling compound, and let it dry completely.
- Sand the repaired areas to create a smooth surface for painting.
- Apply primer paint to prevent stains or discolouration from showing through your new paint.
4. Choose the Right Tools
- Opt for high-quality ceiling paint with a flat finish to minimise glare and imperfections.
- Gather your painting tools, including brushes, rollers designed for ceilings, and painter’s tape for clean edges.
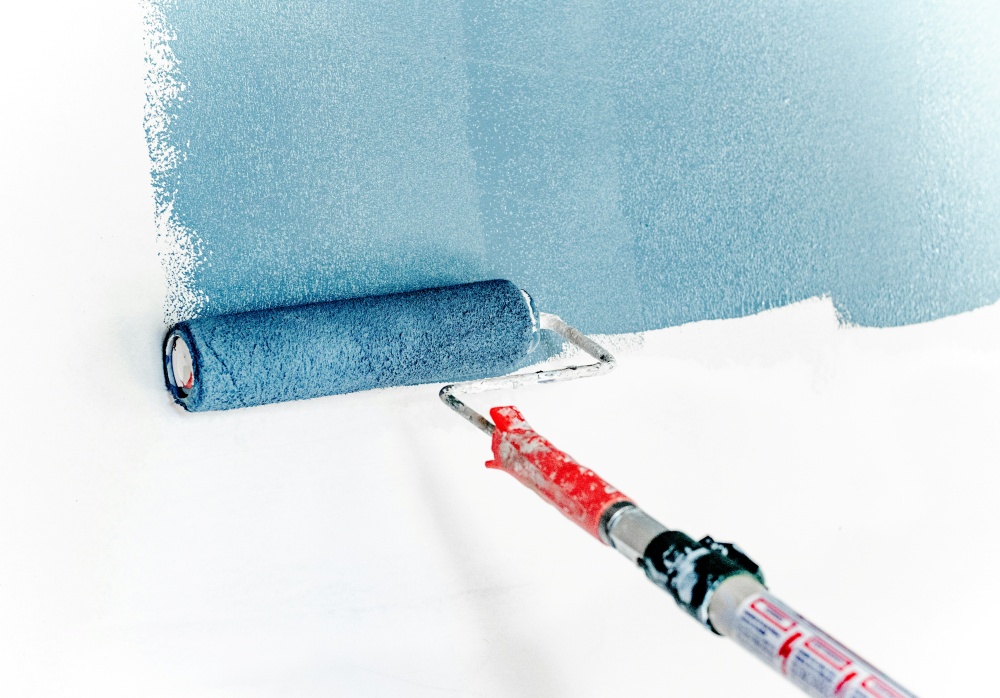
- Use an extension pole for your roller, especially when learning how to paint high ceilings. It provides better reach, comfort, and an even application while reducing strain.
Ceiling Painting Techniques
Mastering the proper techniques on how to paint a ceiling will help you achieve an even coat and professional finish.
- Cutting In: Start by “cutting in,” which involves using an angled brush to paint a border along the ceiling edges where it meets the walls. This creates a clean line and prevents roller marks on your walls.
- Rolling the Paint: Apply the paint in a zigzag pattern with a roller, ensuring complete coverage. Once the area is covered, smooth out the paint with straight, overlapping strokes in one direction for a consistent finish. Remember to maintain a wet edge as you work to avoid unsightly lap marks.
- Applying Multiple Coats: Let the first coat dry fully before applying a second to avoid streaks and ensure an even finish. Once dry, check the coverage and apply a second coat using the same rolling technique if necessary.
Choosing the Right Ceiling Paint
From the finish to the colour, your choices can impact the overall result of your paint job.
Flat vs. Glossy Finish
For most ceilings, a flat finish is preferred. Its non-reflective properties help conceal minor imperfections and create a smooth look. A semi-gloss finish, on the other hand, might be more suitable in bathrooms and other areas prone to moisture or humidity because it’s more moisture-resistant and easier to clean.
Colour Choices
When choosing a colour, consider how it complements your walls and overall room décor. Lighter colours tend to make a room feel more spacious, while a bold hue can add a dramatic touch to a space.
Safety Tips
Safety should always be a top priority when undertaking any home improvement project, and painting your ceiling is no exception. After all, taking the right precautions can prevent accidents and ensure a safe and enjoyable painting experience.
Here are some essential safety precautions to keep in mind when painting your ceiling:
- Use a Sturdy Ladder: Ensure your ladder is in proper working condition and placed on a stable, level surface to avoid accidents or instability while you work.
- Ventilate the Room: Make sure the room is well-ventilated by opening windows and doors and using a fan to help circulate fresh air and reduce paint fumes.
- Wear Protective Gear: Protect yourself from paint splatters, potential irritants, and fumes by wearing safety glasses, gloves, and a mask.
Common Mistakes to Avoid
Whether you’re a professional or a beginner starting to learn how to paint, mistakes can negatively impact your final result.
Here’s what to watch out for:
- Skipping Prep Work: Failing to do proper prep work, such as cleaning the ceiling, repairing imperfections, and priming stained areas, can lead to an uneven and less durable result.
- Using Wrong and Low-Quality Tools: Using inappropriate rollers and low-quality paint can lead to various issues, including an uneven finish, unsightly drips, and a less durable paint job that may require more frequent touch-ups.
- Painting Without Maintaining a Wet Edge: Failing to maintain a wet edge can lead to lap marks—visible stripes or lines caused by uneven layers of paint—that can be challenging to fix.
- Rushing Between Coats Without Proper Drying Time: Rushing between coats without allowing proper drying time can cause streaks, peeling, and an uneven finish, resulting in an unprofessional look.
Frequently Asked Questions About Painting Ceilings
How long does it take for ceiling paint to dry?
Drying times vary depending on the type of paint, humidity levels, and ventilation. Generally, most ceiling paints will be dry to the touch within a few hours. However, it’s advisable to wait at least 24 hours before applying a second coat or replacing furniture in the room.
Can I use wall paint on a ceiling?
While you can use wall paint on a ceiling, it may not provide the same coverage and durability as ceiling-specific paint. It’s better to use paint designed for ceilings for optimal results.
What's the best way to clean a painted ceiling?
Use a soft broom or vacuum attachment to remove dust. For tougher stains, try using a damp cloth with a mild detergent solution. Be sure to avoid scrubbing too hard, as this could damage the paint.
Ready to Transform Your Ceilings?
Painting a ceiling can be a rewarding DIY project, but it certainly comes with challenges. Following the tips and how-tos in this guide can help you to confidently tackle your ceiling painting project and achieve a beautiful, long-lasting finish.
If you prefer to leave the task to the experts, 5 Star Painting is here to help. Our skilled painting contractors handle everything from prep to choosing the right type of house paint, ensuring a high-quality result. Contact us today to transform your space.

